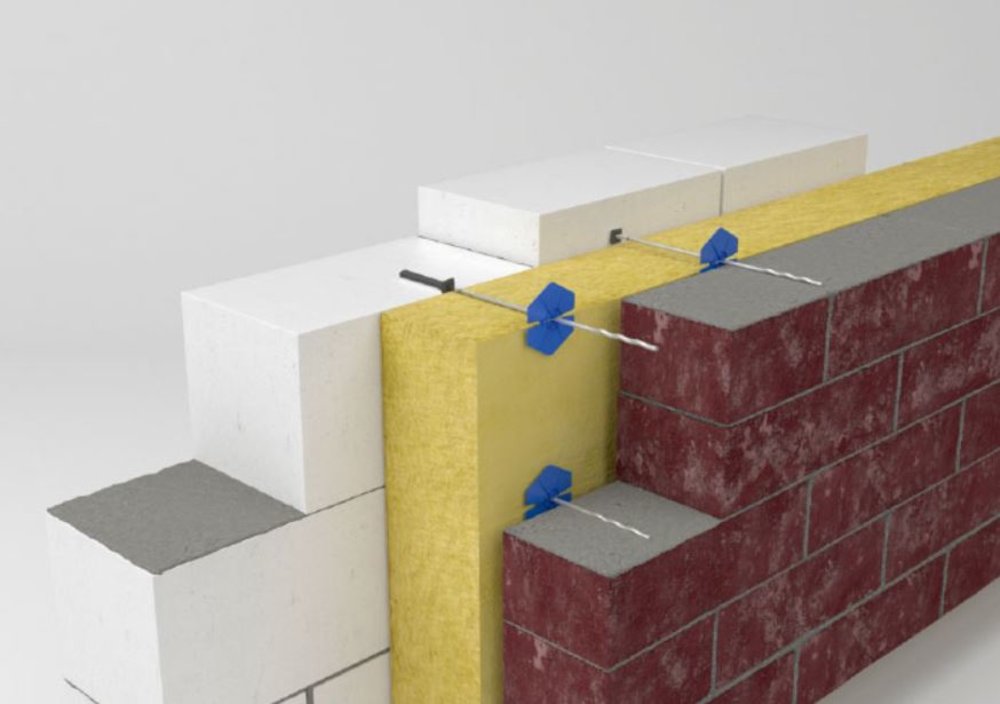
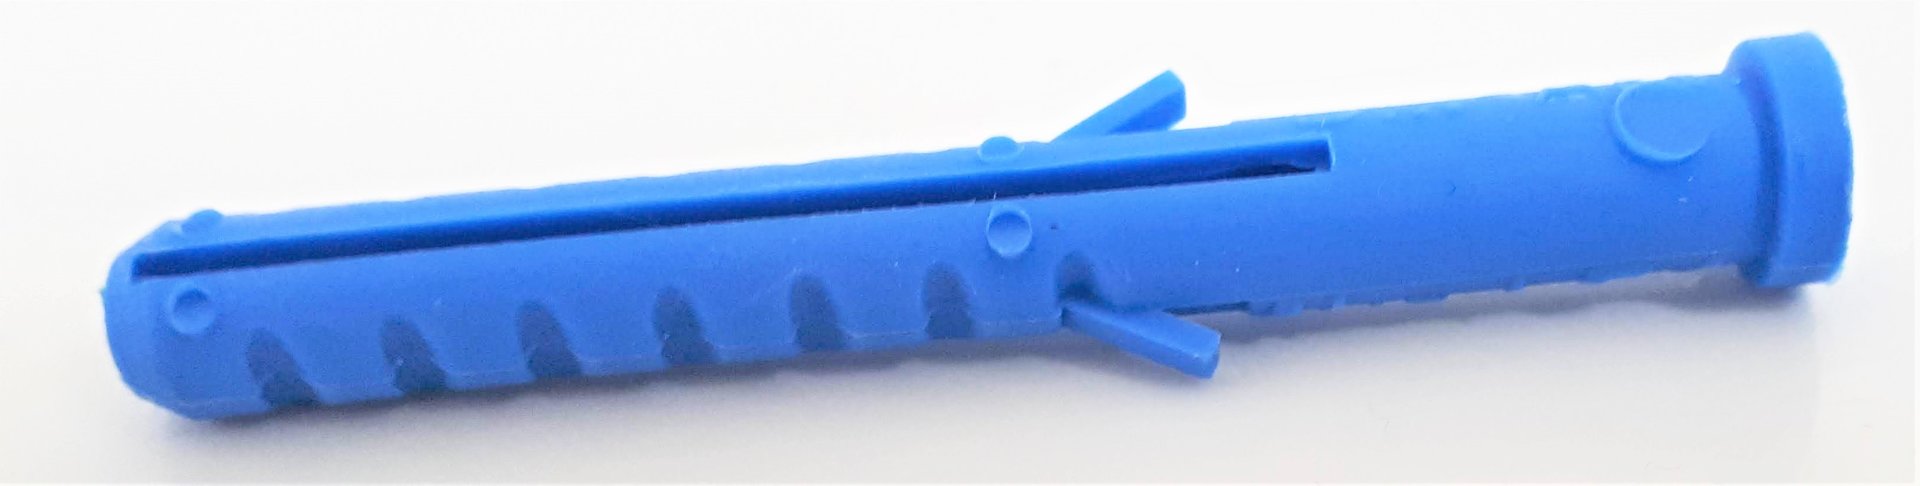
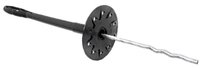
- Drill a hole in the interior wall, 6 mm diameter and 60 mm minimum depth.
- Clean the hole (if applicable using a blowgun) and insert the dowel.
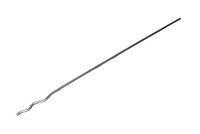
- Using an appropriate driving punch and a hammer, drive the twisted tip of the hook into the dowel, down to the bottom of the hole.
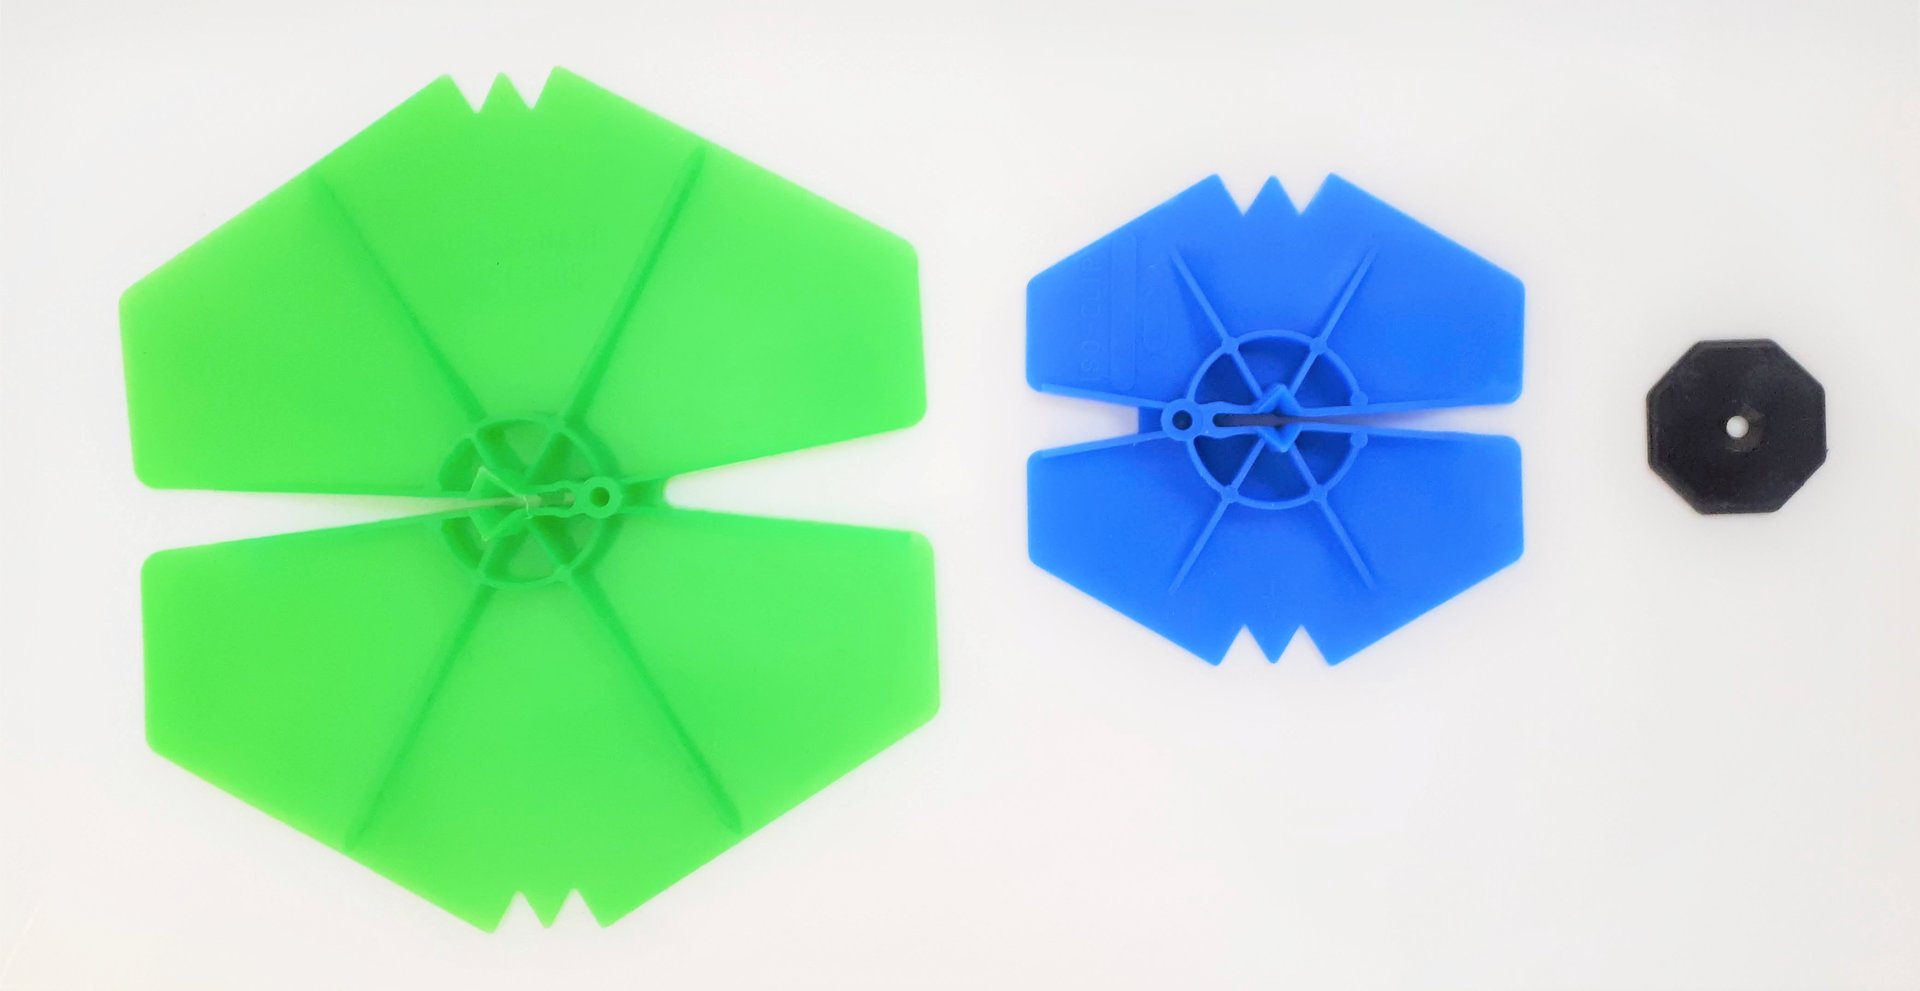
- If applicable, add an insulator fastening clip directly against the insulator.
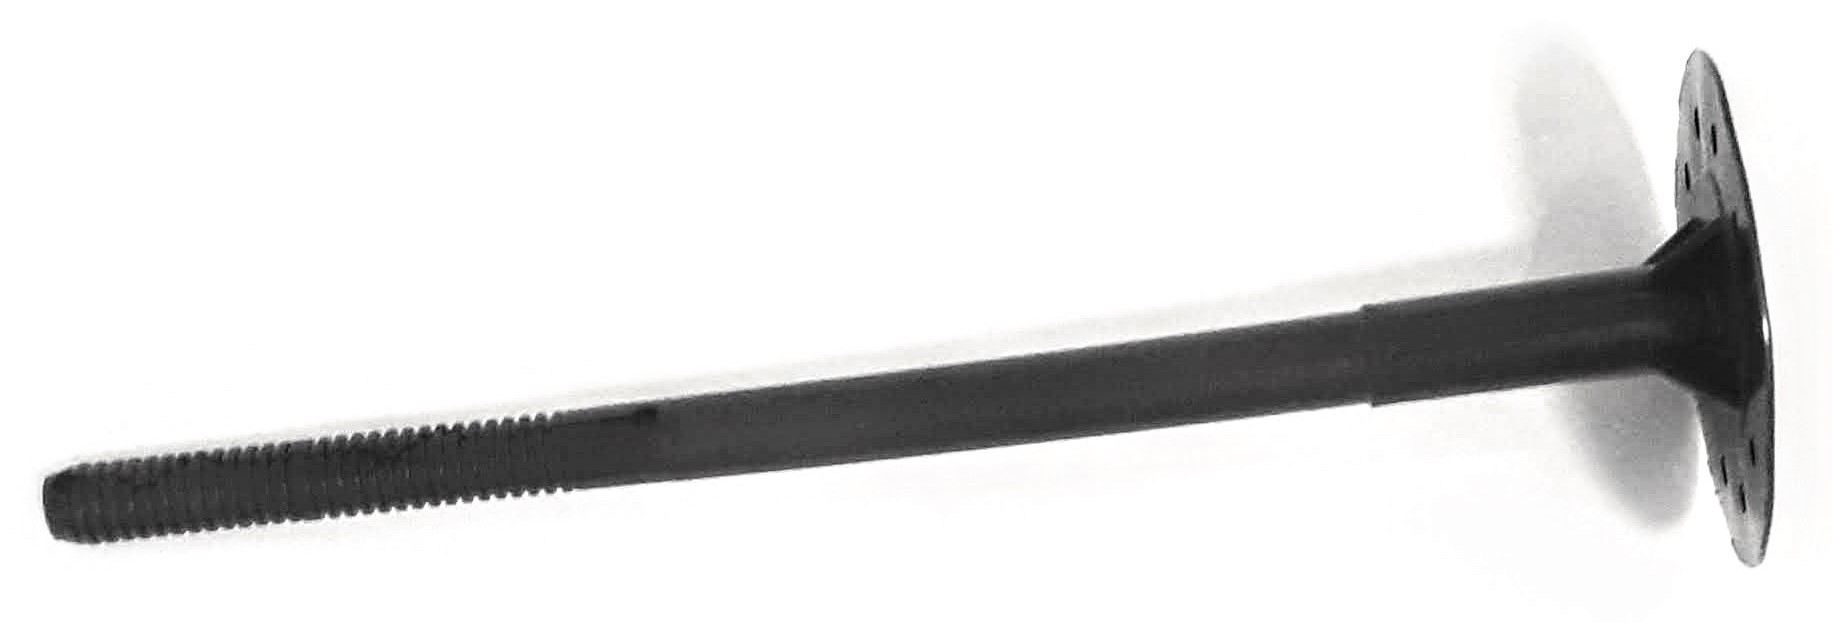
- Install the anchoring hooks with a slope descending towards the facing wall, allowing water to flow outward, or add a drop breaking washer on the hook before the installation.
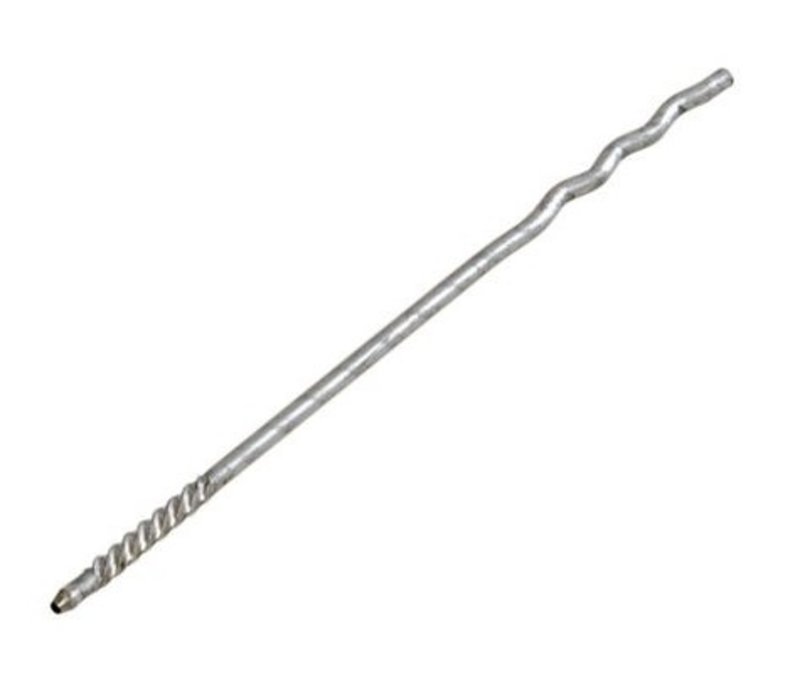
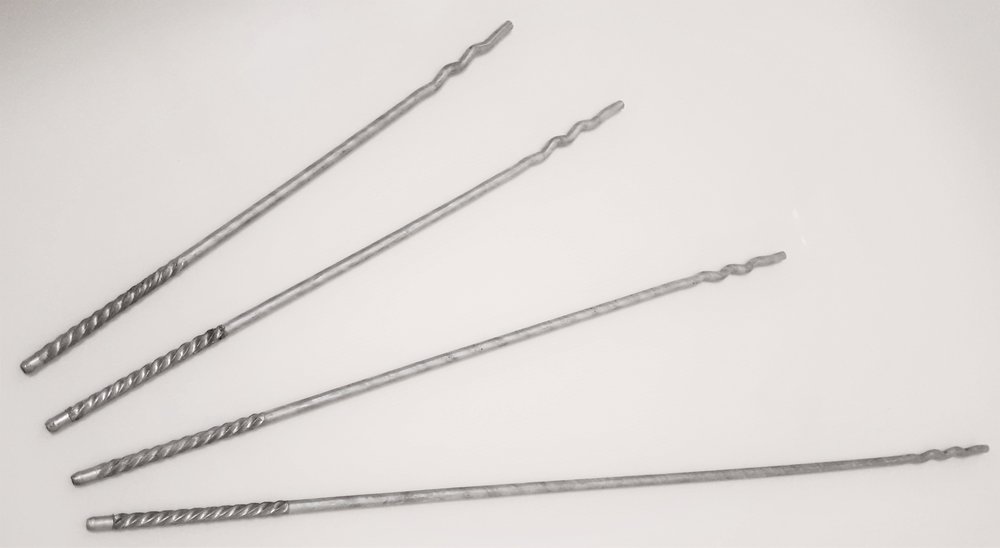
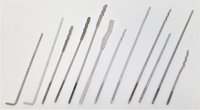
- The masonry hooks will then be introduced into the mortar joints of the facing walls. Thanks to the hook's ripple at its free end, this end does not need to be folded into the masonry joint.
- Drill hole: Ø 6 x 60 mm (hook Ø 4 mm), Ø 8 x 50 mm (hook Ø 5 mm)
- Anchoring depth in the facing wall: 40 - 80 mm